Dolphin/Customize Folder Icon/da: Difference between revisions
< Dolphin
(Importing a new version from external source) |
(Importing a new version from external source) |
||
| Line 13: | Line 13: | ||
[[File:Customize-folder-icon-2-en US.png|center]] | [[File:Customize-folder-icon-2-en US.png|center]] | ||
Nu dukker en dialog frem. | |||
[[File:Customize-folder-icon-3-en US.png|center]] | [[File:Customize-folder-icon-3-en US.png|center]] | ||
Revision as of 08:56, 16 October 2011
Tilpas mappeikon
At tilpasse mappeikonet kan gøre det lettere at navigere igennem filsystemet, da du så ikke længere er afhængig af mappens navn, for at lokalisere den. Det er faktisk som regel lettere at identificere en fil eller mappe ved sit ikon end ved navnet. Dolphin gør det let at tilpasse en mappes ikon:
Først højreklikker du på mappen og vælger .
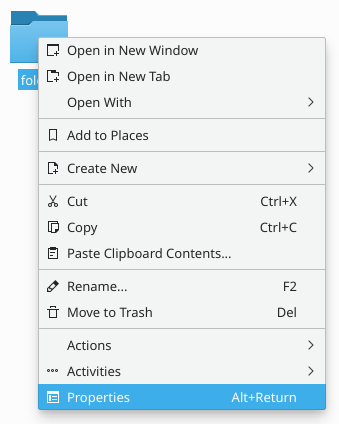
Gå så til fanebladet og højreklik på ikonet i det øverste venstre hjørne.
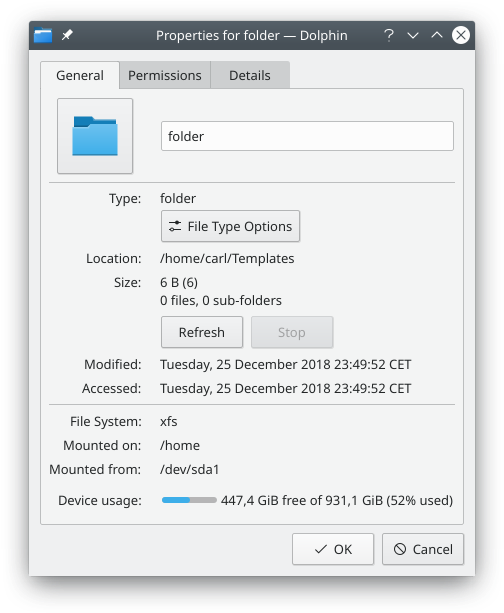
Nu dukker en dialog frem.
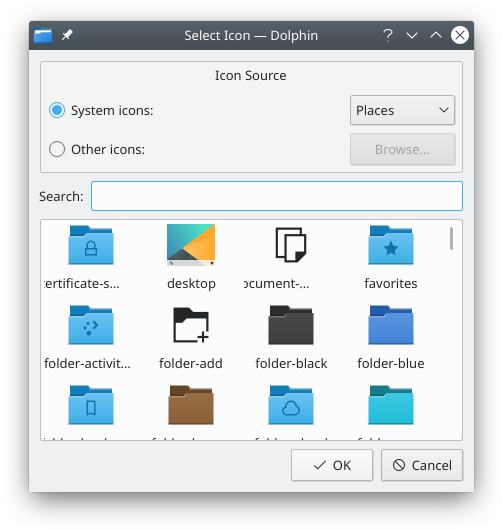
There, you can:
- Browse system icons: click System icons radio button, then select an icon category (Places in the image), and the bottom list will be reloaded with the system icons for specified category.
- Browse non-system icons: click Other icons, and the bottom list will be reloaded with icons which are not part of your system icon theme. These icons can be, for example, icons of installed applications.
- Use a custom icon: click Other icons, then click , and find your custom image file to be used as icon for the folder.
Once you find the icon you want to use for the folder, click it. You will be back to the Properties dialog window, and the icon you clicked will have replaced the old one.
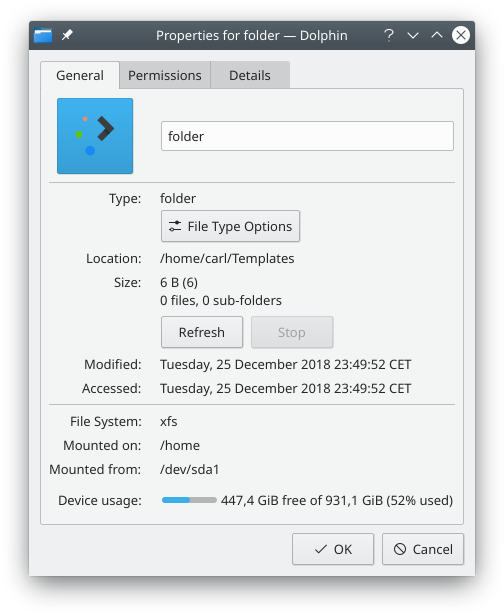
Now, click to finally apply the changes for real. Your folder will be now using the icon of your choice.
