Archive:Kdenlive/Manual/Titles/da: Difference between revisions
Importing a new version from external source |
Importing a new version from external source |
||
| Line 30: | Line 30: | ||
Vælg et sted at gemme indenfor projektet. | Vælg et sted at gemme indenfor projektet. | ||
Titler gemmes som <tt>.kdenlivetitle</tt>-dokumenter. | |||
=== How to Load a Title === | === How to Load a Title === | ||
Revision as of 19:29, 21 November 2012
Titler
Titler er tekstelementer, som kan føjes til tidslinjen og dukke op hen over andre klip. Titler oprettes i projekttræet og trækkes til tidslinjen ligesom andre videoklip.
For at oprette en titel vælger du fra Menuen Projekt eller fra projekttræets højrekliksmenu.
Hvordan man gemmer en titel
Åbn titlen i projekttræet ved at dobbeltklikke på det eller højreklikke og vælge .

Klik på knappen i værktøjslinjen
eller klik på i den udvidede værktøjslinjen, som fås frem under knappen i værktøjslinjen - se billedet.
 |
| Editoren Titelklip, når editoren en bred nok til at hele værktøjslinjen vises. Punkter i værktøjslinjen, som der ikke er plads til kan tilgås fra knappen , som dukker op for enden af værktøjslinjen. |
Vælg et sted at gemme indenfor projektet.
Titler gemmes som .kdenlivetitle-dokumenter.
How to Load a Title
Choose from the Add Clip drop down (see picture)
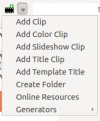
Click the button on the Title Clip editor toolbar or choose from the menu and load up a title saved earlier.
How to edit an existing title
Right click the title clip in the project tree and select .
Template Titles - User Defined
Template Titles allow you create a template for other titles in your project. You can create the template title with the settings that all the titles in the project should have and then base subsequent titles on the template. If you decide to change the look of you titles you only need change the template title and the titles based on this template will automatically update to reflect any formating changes you made to the template title.
To create a template title
Choose from the drop down and create a title with the text %s in it and formated how you desire it. Save it this title as described above.
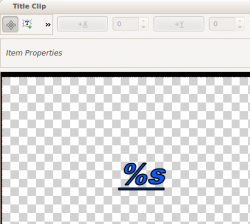
To use the template title
from the drop down and choose the title with the %s in it that you just saved.
Right click this clip in the project tree and select
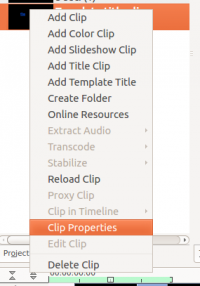
Enter the text that this title should display into the text field in the dialog that appears
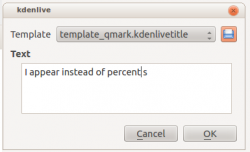
Drag the title to the timeline.
The %s in the template will be replaced with the text that you enter in the .
A known issue with template titles is that text centering of the %s replaced text does not work - see this forum post.
Template Titles - Built In
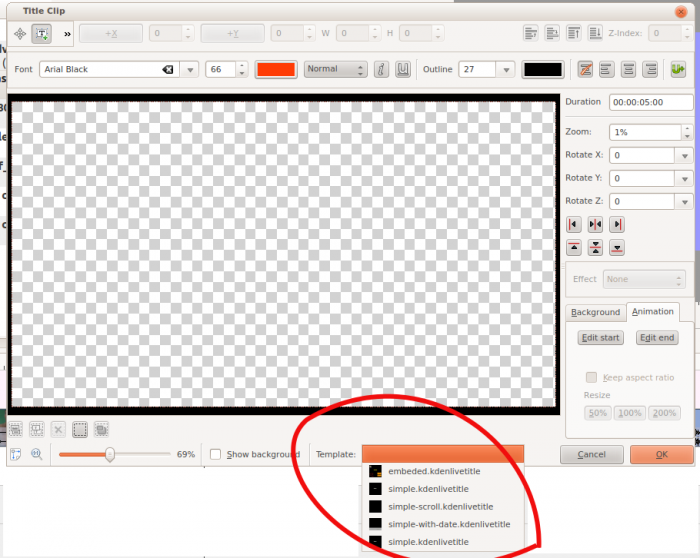
Kdenlive has some built-in title templates that can be accessed from the drop-down list found on the bottom of the Title Clip window - see below.
To install more built in title templates choose Download New Title Templates from the settings menu.
Import an Image into the title
On the Toolbar overflow menu (>>) shown in the picture below the second menu item - labeled only with Alt+I - is the Button. Selecting this brings up a file chooser where you can choose an image to be inserted into your title.
Draw Rectangle Toolbar Item
The 1st menu item shown in the picture above - labeled only with Alt+R is the button. After selecting this - drag the mouse to draw a rectangle. Use the rectangle toolbar (shown below) to change the fill color, border color and border width of the rectangle.
The rectangles can be placed behind text by selecting them and the changing the Z-index (top right corner) to a lower value.
To make the title scroll vertically
Put a long title onto the title window. Zoom out so you can see it all. The text should run off the top (or bottom) of the viewable area.
Select the Animation tab and click . Now drag the start rectangle to above the viewable area.
Select and drag the end rectangle to below the viewable area.
Click and preview the scrolling title.
The above title scrolls so that text scrolls up the screen. It is as if the camera starts on the "start rectangle" and then pans down to the "end rectangle"
To make the title scroll Horizontally
Use the instructions for vertical scrolling - just put the start and stop rectangles off to the sides of the screen rather than the top and bottom
FAQ
Q: How to duplicate a title clip to modify it slightly
A: You can save a copy of the title (see How to Save a Title) and then create a new title based on that saved version as described above, Or you could use the template titles functionality to base the two slightly different titles on the one template.


