Digikam/Adding Borders To Your Photos/de: Difference between revisions
Created page with "Wenn Sie fertig sind Drücken Sie <menuchoice>OK</menuchoice>." |
No edit summary |
||
| Line 30: | Line 30: | ||
Wenn Sie fertig sind | Wenn Sie fertig sind drücken Sie <menuchoice>OK</menuchoice>. | ||
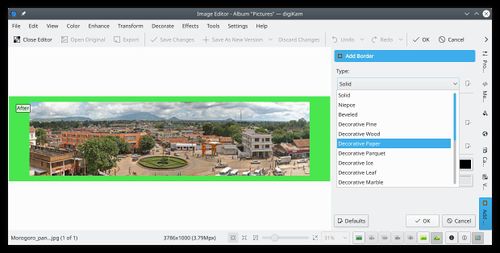
If you prefer predefined textures to apply as borders you can select from the available options menu, which gives many choices. | If you prefer predefined textures to apply as borders you can select from the available options menu, which gives many choices. | ||
Revision as of 20:39, 15 March 2014
Einen Rahmen den Bildern hinzufügen
Übernommen aus Mohamed Malik's Blog, 7 März 2011
Viele umrahmen ihre Bilder, seit sie festgestellt haben, dass diese dadurch besser ausschauen und sich dadurch abheben. Mit digiKam geht das sehr leicht und einfach.
Es gibt zwei Wege um Rahmen zu den Bildern mit digiKam hinzuzufügen.
- Methode 1
Wählen Sie das Foto aus, dem Sie einen Rahmen hinzufügen wollen und klicken Sie F4 Auf der Tastatur. Das öffnet Ihnen die Bearbeitungsansicht (showFoto). Dort wählen Sie .
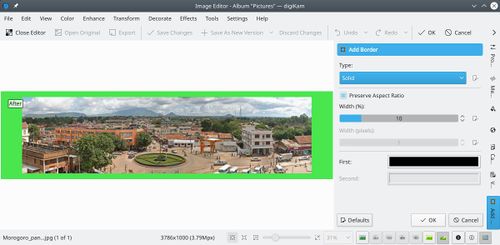
Es werden Ihnen viele Optionen angeboten
One option is the . This option gives you many colors that you can choose from.
Die Farboptionen sind
- Forty Colors
- Oxygen Colors
- Rainbow Colors
- Royal Colors
- Web Colors
- Named Colors
You can change the hue, saturation and value of any color and add it to your list of custom colors. See screen capture below. (These images can be clicked for larger views)

Wenn Sie fertig sind drücken Sie .
If you prefer predefined textures to apply as borders you can select from the available options menu, which gives many choices.

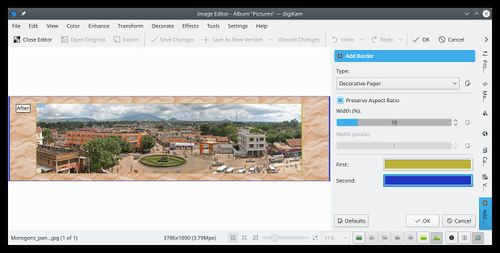
If you choose this option then you can choose the first color and second color. First color is the color that you will see in the inner area, where as second color is the color you will see on the outer area. See screen capture:

When you are done press .
- Methode 2
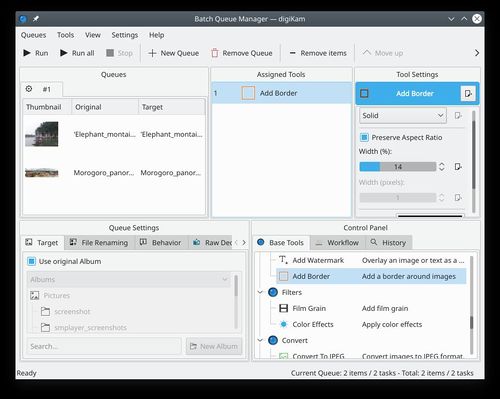
Method 1 is very useful when to test the feature and try to get a border that really suits your needs. However if you have many images that you want to apply borders to, then the batch queue manager would be the best option. Select all the images that you want to apply borders and click Ctrl + B on the keyboard and the Batch Queue Manager appears.
Drag and Drop the tool to the list of assigned tools and set your preferences select a target folder then click (Ctrl + P).
See screen capture below:

