Translations:Archive:Kdenlive/Manual/Effects/Blur and hide/Auto Mask/12/da: Difference between revisions
Appearance
Importing a new version from external source |
m FuzzyBot moved page Translations:Kdenlive/Manual/Effects/Blur and hide/Auto Mask/12/da to Translations:Archive:Kdenlive/Manual/Effects/Blur and hide/Auto Mask/12/da without leaving a redirect: Part of translatable page "Kdenlive/Manual/Effects/Blur and hide/Auto Mask" |
(No difference)
| |
Latest revision as of 11:34, 15 August 2023

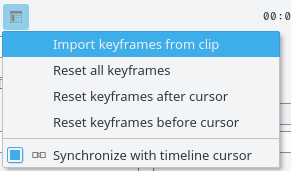
Næste skridt er at importere bevægelsesdata ind i overgangen. Det før du ved først at vælge det klip, du har analyseret og så vælge overgangen med <keycap>Ctrl</keykap>-tasten holdt nede, sådan at begge emner vælges. Derefter går du til overgangens tilvalgsmenu ![]() og vælger . Du kan nu fjerner effekten "Automatisk maskering" fra klippet i tidslinjen og afspille projektet for at se dit titelklip følge objektet.
og vælger . Du kan nu fjerner effekten "Automatisk maskering" fra klippet i tidslinjen og afspille projektet for at se dit titelklip følge objektet.
