Plasma/TweakingPlasma/uk: Difference between revisions
(Created page with "Ось і все!") |
(Created page with "=== Результат ===") |
||
| Line 27: | Line 27: | ||
Ось і все! | Ось і все! | ||
=== | === Результат === | ||
[[File:Windowssidebar.jpeg|500px|center|thumb]] | [[File:Windowssidebar.jpeg|500px|center|thumb]] | ||
Revision as of 16:44, 17 January 2011
<
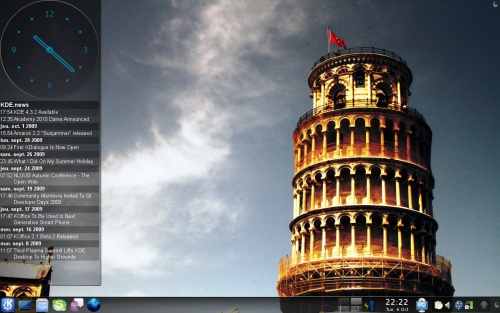
Бічна панель у стилі Windows Vista з годинником і новинами
Ще один приклад того, що програми KDE можуть бути кращими за Windows…
Створення панелі
- Клацніть правою кнопкою миші на стільниці.
- Виберіть пункт .
- Натисніть на створеній панелі.
- Перетягніть і скиньте панель у бічну частину екрана натисканням з перетягуванням кнопки .
- Змініть висоту та ширину панелі відповідно до ваших уподобань. Панель має бути достатньо широкою, щоб на ній можна було розмістити віджети
Додавання віджетів
- У налаштуваннях панелі натисніть кнопку .
- Додайте віджет та віджет або .
Приховування панелі
- Натисніть кнопку
- Позначте пункт .
Ось і все!
Результат
Using Multiple Plasma Themes
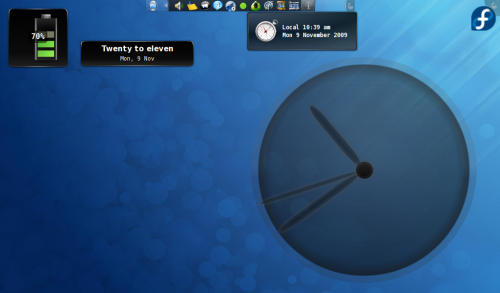
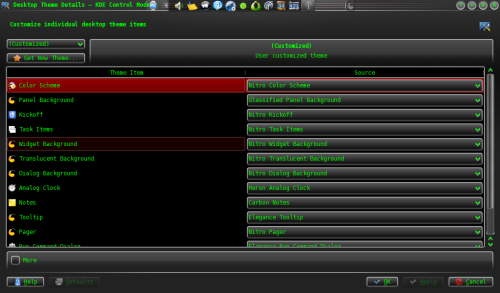
The Plasma workspace allows users to create customized themes whose widgets can be themed using multiple themes. For example, it is possible to have the Taskbar be themed using Oxygen, to have the clock be themed using Aya, and much more customization, allowing you to pick the best plasma themes for each object.
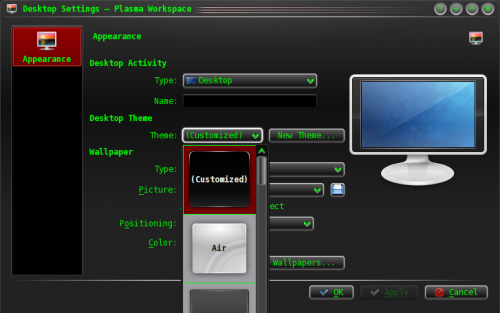
Set up "(Customized)" Theme
Navigate to the configuration dialog via either Krunner or the System Settings Dialog:
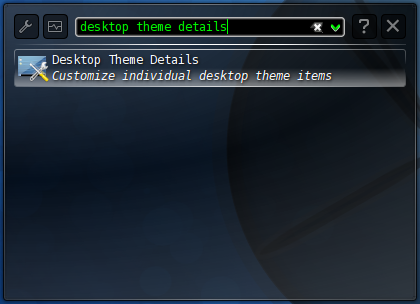
Here you can choose what theme is used for different objects in the Plasma workspace. Configure them to your pleasure (it often helps to test each individual plasma element by applying the entire theme to your desktop first) and press .
Apply "(Customized)" Theme
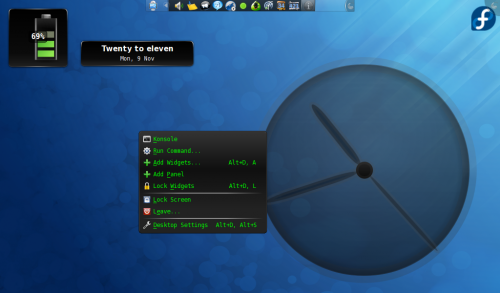
At this point, the workspace settings dialog should list a Plasma theme entitled (Customized). This is the theme mashup that you have created. Select it and hit .
