Plasma/TweakingPlasma/da: Difference between revisions
Importing a new version from external source |
Importing a new version from external source |
||
| Line 24: | Line 24: | ||
* Vælg <menuchoice>Skjul automatisk</menuchoice> | * Vælg <menuchoice>Skjul automatisk</menuchoice> | ||
Det var det! | |||
=== Result === | === Result === | ||
Revision as of 05:51, 19 January 2011
<
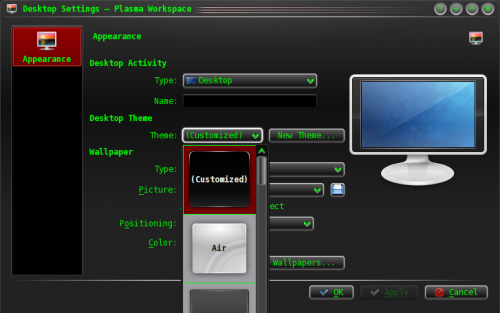
Et Windows Vista-agtigt sidepanel med ur og nyheder
Endnu et bevis på, at KDE software kan alt det, som Windows kan...
Lav panelet
- Højre-klik på skrivebordet
- Vælg
- Klik på i dette panel
- Klik på og hold knappen nede mens du trækker panelet en af skærmens kanter
- Indstil højden som du vil, men gør panelet ret bredt, sådan at der er plads til de ønskede widgets. \
Tilføj widgets
- Mens du stadig redigerer panelet klikker du på
- Tilføj widgets'ene og
Skjul panelet
- Klik på
- Vælg
Det var det!
Result
Using Multiple Plasma Themes
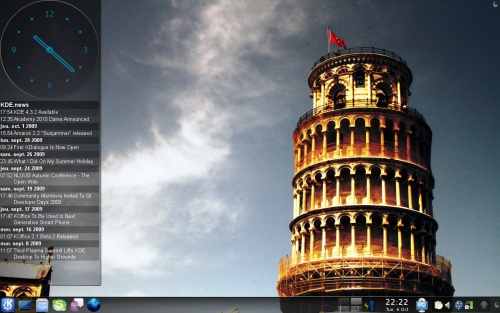
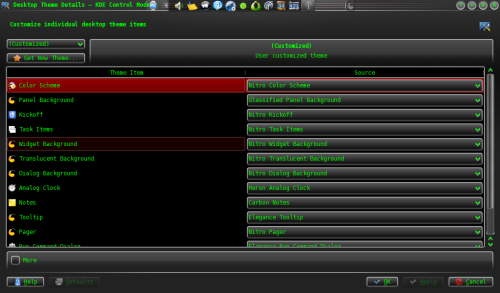
The Plasma workspace allows users to create customized themes whose widgets can be themed using multiple themes. For example, it is possible to have the Taskbar be themed using Oxygen, to have the clock be themed using Aya, and much more customization, allowing you to pick the best plasma themes for each object.
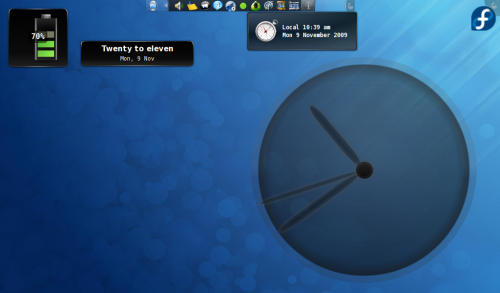
Set up "(Customized)" Theme
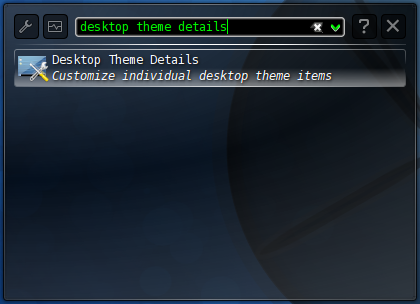
Navigate to the configuration dialog via either Krunner or the System Settings Dialog:
Here you can choose what theme is used for different objects in the Plasma workspace. Configure them to your pleasure (it often helps to test each individual plasma element by applying the entire theme to your desktop first) and press .
Apply "(Customized)" Theme
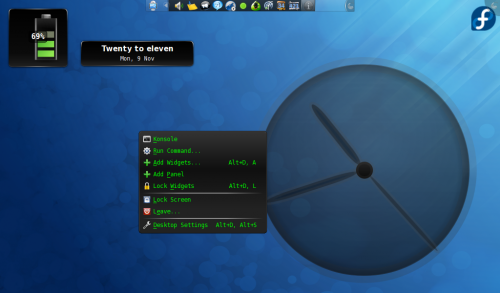
At this point, the workspace settings dialog should list a Plasma theme entitled (Customized). This is the theme mashup that you have created. Select it and hit .
