Dolphin/Customize Folder Icon/en: Difference between revisions
Updating to match new version of source page |
Updating to match new version of source page |
||
| Line 9: | Line 9: | ||
[[File:Customize-folder-icon-1-en US.png|center]] | [[File:Customize-folder-icon-1-en US.png|center]] | ||
Then go to <menuchoice>General</menuchoice> tab, and | Then go to <menuchoice>General</menuchoice> tab, and click the icon in the top left corner. | ||
[[File:Customize-folder-icon-2-en US.png|center]] | [[File:Customize-folder-icon-2-en US.png|center]] | ||
Latest revision as of 15:53, 19 October 2011
Customize Folder Icon
Customizing the icon of a folder makes it easier to navigate through your filesystem, since you do not depend only on the name of the folder to identify it. In fact, it is usually easier to identify a file or folder by its icon than it is to identify it by its name. Dolphin makes it easy to customize the icon of any folder:
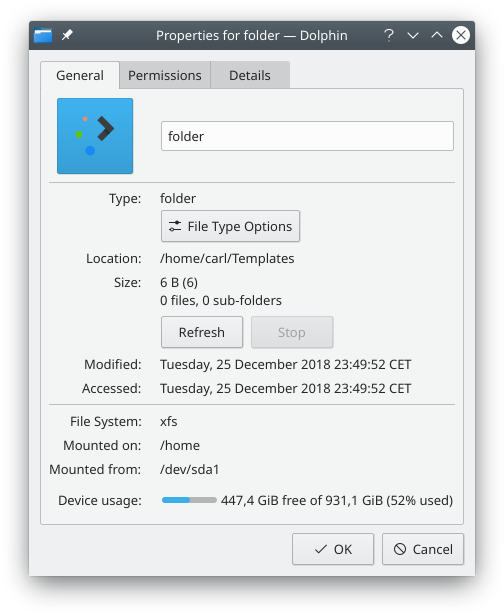
First, right-click the folder and go to .
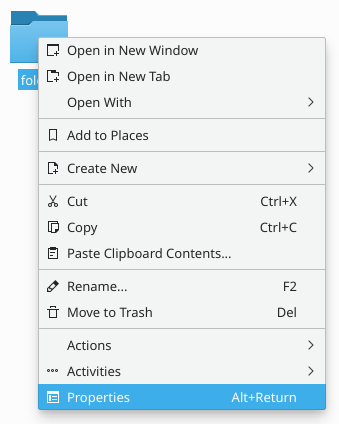
Then go to tab, and click the icon in the top left corner.
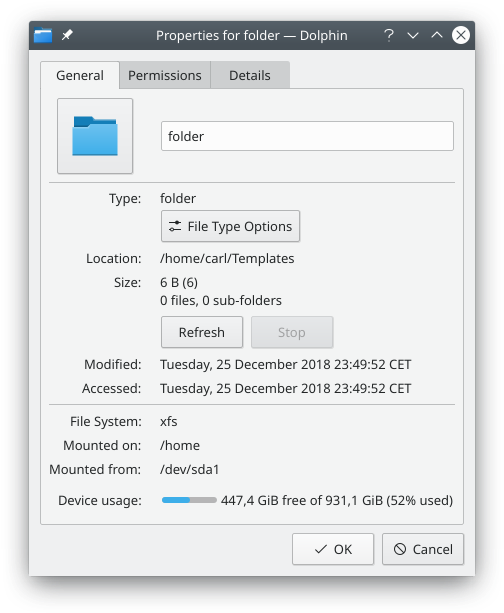
A dialog window will pop up.
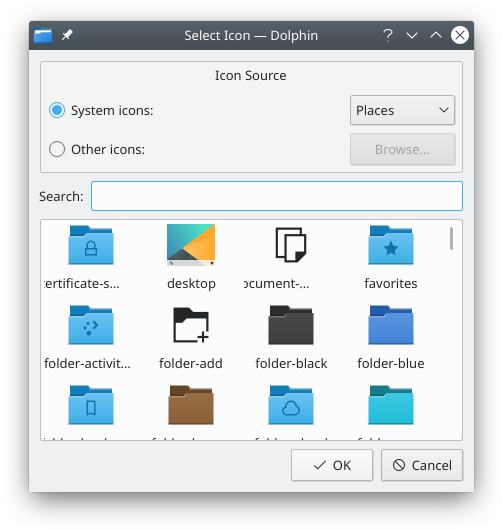
There, you can:
- Browse system icons: click radio button, then select an icon category ( in the image), and the bottom list will be reloaded with the system icons for specified category.
- Browse non-system icons: click , and the bottom list will be reloaded with icons which are not part of your system icon theme. These icons can be, for example, icons of installed applications.
- Use a custom icon: click , then click , and find your custom image file to be used as icon for the folder.
Once you find the icon you want to use for the folder, click it. You will be back to the Properties dialog window, and the icon you clicked will have replaced the old one.
Now, click to finally apply the changes for real. Your folder will be now using the icon of your choice.
