Plasma/TweakingPlasma/el: Difference between revisions
Created page with "Τελειώσατε!" |
No edit summary |
||
| Line 24: | Line 24: | ||
* Κλικ στην επιλογή <menuchoice>Αυτόματη απόκρυψη</menuchoice> | * Κλικ στην επιλογή <menuchoice>Αυτόματη απόκρυψη</menuchoice> | ||
Τελειώσατε! | Τελειώσατε ! | ||
=== Result === | === Result === | ||
Revision as of 03:48, 19 October 2013
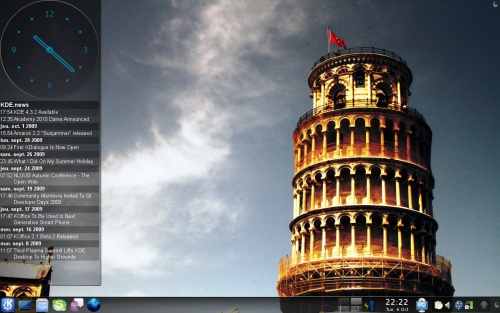
Μια γραμμή κύλισης σαν των Windows Vista με ρολόι και ειδήσεις
Για ακόμα μια φορά η απόδειξη ότι το λογισμικό KDE μπορεί να κάνει τουλάχιστον όσα και τα Windows...
Δημιουργία πίνακα
- Δεξί κλικ στην επιφάνεια εργασίας
- Κλικ στο
- Κλικ στην του πίνακα
- Μεταφέρετε και αποθέστε τον πίνακα σε μια πλευρά της οθόνης με πατημένο το κλικ στην
- Διαμορφώστε το ύψος και το πλάτος όπως επιθυμείτε, αλλά διατηρήστε το αρκετά πλατύ ώστε να μπορούν να εμφανίζονται τα συστατικά του.
Προσθήκη συστατικών
- Πάντα στον πίνακα κάντε κλικ στο
- Προσθέστε το συστατικό και το ή το
Απόκρυψη του πίνακα
- Κλικ στο
- Κλικ στην επιλογή
Τελειώσατε !
Result
Using Multiple Plasma Themes
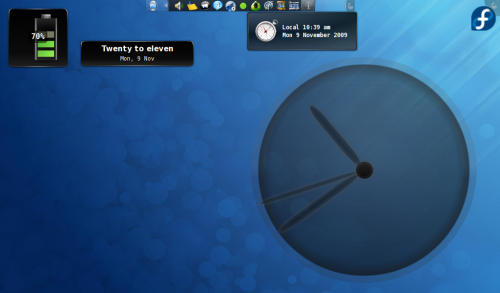
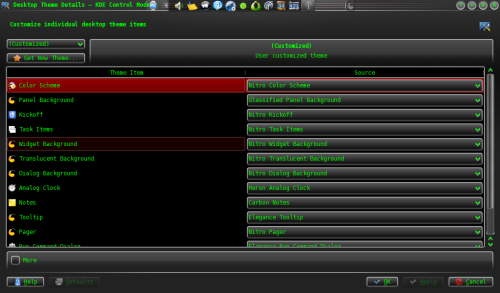
The Plasma workspace allows users to create customized themes whose widgets can be themed using multiple themes. For example, it is possible to have the Taskbar be themed using Oxygen, to have the clock be themed using Aya, and much more customization, allowing you to pick the best plasma themes for each object.
Set up "(Customized)" Theme
Navigate to the configuration dialog via either Krunner or the System Settings Dialog:
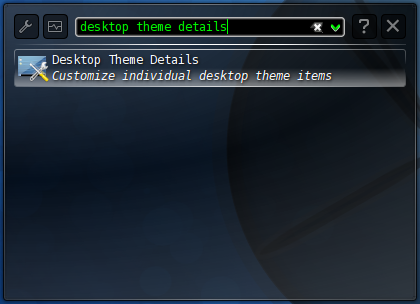
Here you can choose what theme is used for different objects in the Plasma workspace. Configure them to your pleasure (it often helps to test each individual plasma element by applying the entire theme to your desktop first) and press .
Apply "(Customized)" Theme
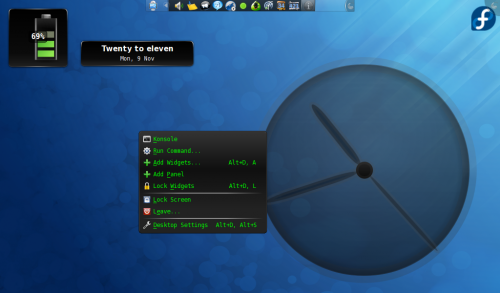
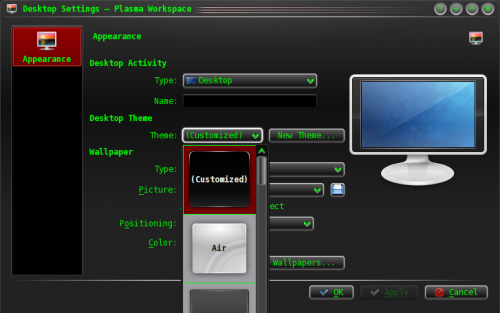
At this point, the workspace settings dialog should list a Plasma theme entitled (Customized). This is the theme mashup that you have created. Select it and hit .
