Archive:Kdenlive/Manual/Projects and Files/Clips/ru: Difference between revisions
Smolyaninov (talk | contribs) No edit summary |
Smolyaninov (talk | contribs) No edit summary |
||
| Line 11: | Line 11: | ||
[[File:Add clip dialog_ru.png|450px|center]] | [[File:Add clip dialog_ru.png|450px|center]] | ||
Кнопка {{Icon|view-previews}} | '''1'''. Кнопка {{Icon|view-previews}} включает/отключает показ миниатюр изображений файла.'''2'''. Слайдер регулирует размер значков предварительного просмотра .'''3'''. Флажок <menuchoice>Импортировать серию изображений</menuchoice> позволяет импортировать серию изображений, которые могут быть использованы для покадровой анимации .'''4'''. С помощью (<menuchoice>Прозрачный фон для изображений</menuchoice>) можно включить альфа-канал в изображениях. [http://opensource.com/life/11/11/effects-and-transitions-kdenlive ref]. | ||
You can add other types of clips by choosing a clip type from the menu brought up from the drop down button next to the {{Icon|kdenlive-add-clip}} button. | You can add other types of clips by choosing a clip type from the menu brought up from the drop down button next to the {{Icon|kdenlive-add-clip}} button. | ||
Revision as of 22:43, 22 February 2019
Клипы
См. так же Меню Клип.
Клипы (Видео, звук и изображения)
Кнопка ![]() (Добавить клип) вызывает диалоговое окно добавления клипа в котором вы можете выбрать видео, звуковые клипы или изображения для добавления в дерево проекта.
(Добавить клип) вызывает диалоговое окно добавления клипа в котором вы можете выбрать видео, звуковые клипы или изображения для добавления в дерево проекта.

1. Кнопка ![]() включает/отключает показ миниатюр изображений файла.2. Слайдер регулирует размер значков предварительного просмотра .3. Флажок позволяет импортировать серию изображений, которые могут быть использованы для покадровой анимации .4. С помощью () можно включить альфа-канал в изображениях. ref.
включает/отключает показ миниатюр изображений файла.2. Слайдер регулирует размер значков предварительного просмотра .3. Флажок позволяет импортировать серию изображений, которые могут быть использованы для покадровой анимации .4. С помощью () можно включить альфа-канал в изображениях. ref.
You can add other types of clips by choosing a clip type from the menu brought up from the drop down button next to the ![]() button.
button.
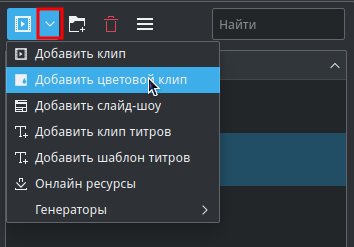
Цветовые клипы
Цветовые клипы - это изображения одного цвета, которые могут быть добавлены в дерево проекта. Они могут быть полезны, для создания фона, например для титров названия.
Add color clips by choosing from the drop down button next to the ![]() button.
button.
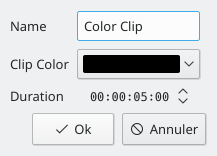
This brings up the Color Clip dialog from which you can choose a color and a duration.
Clicking adds the clip to the project tree. The clip can then be dragged to the timeline. The duration of the color clip can be adjusted on the timeline.
Клипы титров
См. Титры
Слайдшоу
Slideshow clips are clips created from a series of still images. The feature can be used to make an animation from a collection of still images or to create a slideshow of still images. To create the former, use a short frame duration; to create the latter, use a long frame duration.
Чтобы создать слайдшоу, выберите в выпадающем списке .
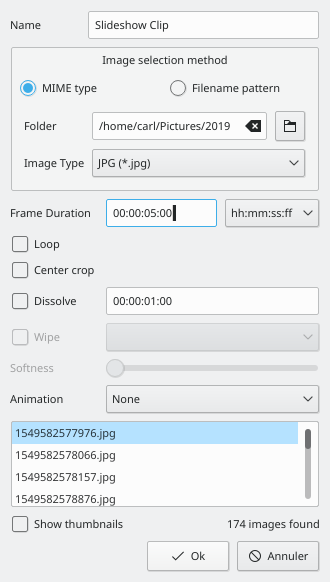
From the Slideshow Clip dialog choose as Image selection method.
Browse to the location of the images which will make up your slideshow and select the first image. The subsequent images that are to be used in the slide show will be selected based on some sort of filename algorithm that predicts what the next image file name should be.
Например, если первое изображение 100_1697.jpg то следующим будет 100_1698.jpg, и т.д..
Select an appropriate frame duration — this defines how long each image be dispayed.
Нажмите кнопку . В дерево проекта будет добавлен клип, который будет состоять из всех изображений в папке, откуда было выбрано изображение первого кадра.
Вы можете перетащить это видео на монтажный стол (timeline).
Center crop: automatically fills the output video frame with the images while maintaining their aspect ratio by cropping equal amounts from each edge. Said another way, it removes the black bars that will appear when the photo orientation or aspect does not match the video's.
Анимация: добавляет заданные замедленные эффекты панорамирования и масштабирования, также известный как эффект Кена Бернса. Вы можете выбрать без анимации, только панарамирование, только масштабирование , или комбинация панарамирования и масштабирование. Каждый вариант также имеет фильтр низких частот, чтобы уменьшить шум на изображениях, которые могут возникнуть во время этой операции. Фильтрация нижних частот значительно медленнее, так что вы должны просмотреть без него, а затем включите при рендеринге.
Создать каталог
См. Меню Проект - Создать папку
Online Resources
См. Меню Проект - Online Resources
Стоп кадр
См. Меню Проект - Захват кадров для анимации
Прокси клипы
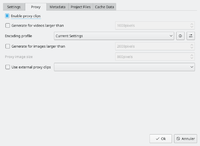
Proxy clips are one of the most useful inventions for editing if you are not working on an ultra high-end machine. Even quite well speced PCs can struggle with High Definition footage if proxy clips are not turned on. The trick that the proxy clip feature does is that the original clips are replaced by clips with lower resolution and a less complex codec. Video decoding, e.g. of H.264 clips, requires a lot of computing power and computing power is required for rendering effects in real time. If insufficient power is available, playback will stutter. Proxy clips require hardly any computing power at all, which allows fluent playback.
Proxy clips can be enabled/disabled for the current project in the Project Settings ().
Чтобы включить прокси-клипы по умолчанию для новых проектов, перейдите к .
См. так же страницу Параметры проекта
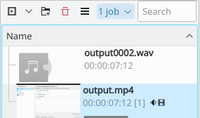
As soon as proxy clips are enabled, they can be generated for specific project clips in the Project Tree widget via the context menu . After you select for a clip, a job will start to create the clip. You can view the progress of this job by looking at the little gray progress bar that appears at the bottom of the clip in the Project Tree — see picture. Clicking again disables the proxy for this clip.
You can multi-select clips in the Project Tree and select to start a batch proxy clip generation job which will queue up multiple proxy clip generation jobs.

Once the proxy clip creation has completed, the proxy clip will appear with a P icon in the Project Tree.
When rendering to the final output file, you can choose whether to use the proxy clips as well. It is disabled by default , but for a quick rendering preview it is useful.
Свойства клипа
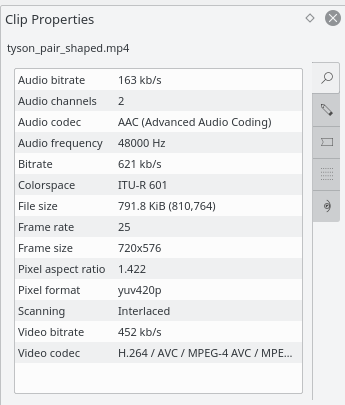
You can display and edit clip properties by selecting a clip in the Project Bin and choosing from the menu or from the right-click menu. Or by turning on the display of clip properties the check box.
Свойства клипа
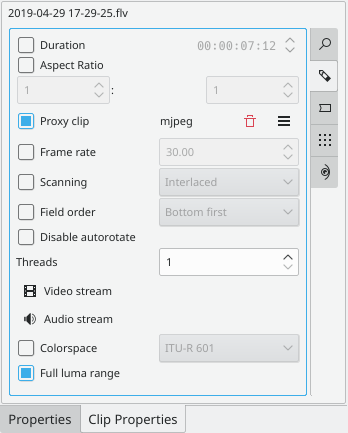
Force Properties
The tab displays advanced properties of the clip where you can select a check box and then force the clip to take the property you specify. For example you can use Force aspect ratio to tell a clip that seems to have forgotten it was 16:9 ratio that it really is 16:9 ratio.
Advanced Clip property options are:
- Force aspect ratio
- Force frame rate
- Force progressive
- Force Field order
- Decoding threads
- Video index
- Audio index
- Force colorspace
- Full Luma range
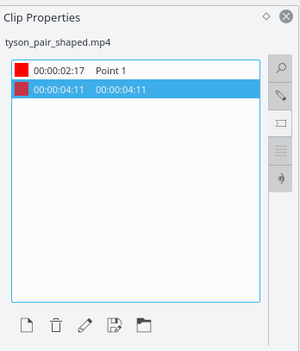
Маркеры
You can use the tab to add markers for certain points in the source file that are important. However, it is probably easier to add markers to your clips via the Clip Monitor because that allows you to preview the file at the location where you are adding the marker.
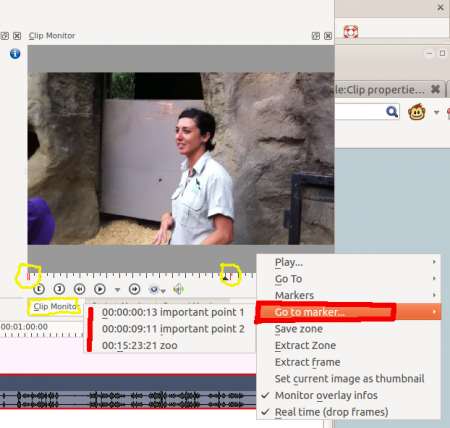
Once markers are put in your clip, you can access them in the Clip Monitor by right-clicking and selecting (see picture.) Also note how the markers appear as red vertical lines in the Clip Monitor (see yellow highlighted regions in the picture.) You can turn on the display of the marker comments in the timeline too (see Show Marker Comments).
Markers can also be added to clips on the timeline. Right-click the clip and choose . Markers added this way also appear in the clip in the Project Bin.
Metadata
You expect this to show any meta data that is contained in the clip. Does not appear to work.
Analysis
You can view and delete motion vector data that is associated with the clip from here. This is data created by Auto Mask - Motion Tracking
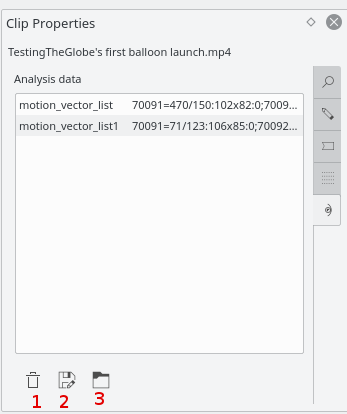
Button 1 Will delete the selected analysis data, Button 2 will allow you to export the data (semi colon delimited text file), Button 3 will allow you to import analysis data.
Генераторы
Counter
This generates a counter timer clip in various formats which you can put onto the timeline.
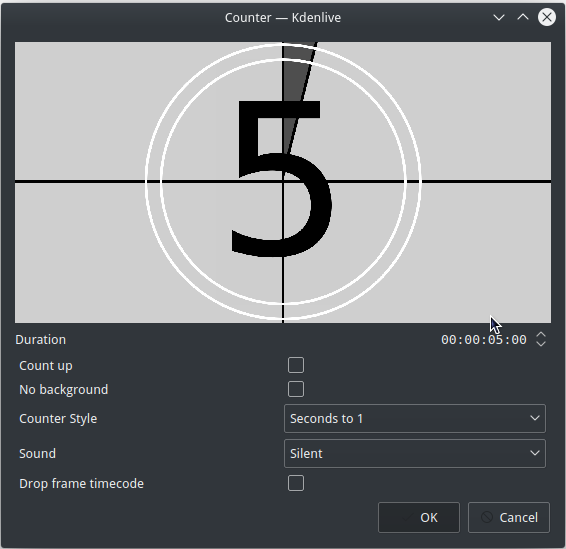 Previous versions of Kdenlive you could have the background to the counter be transparent.
There may be a defect here because it appears the No Background check box does not remove the background from the counter.
Apparently you need a pan and zoom effect to make the font of the countdown smaller
White Noise
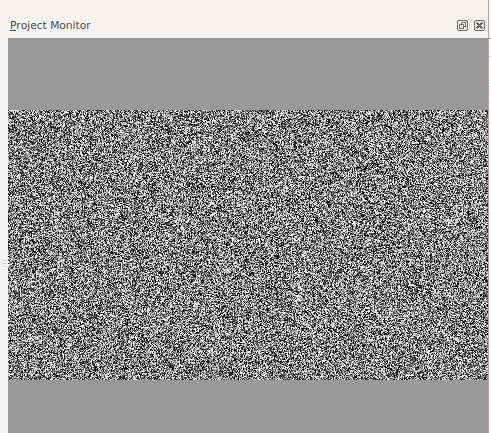
This generates a video noise clip — like the "snow" on an out-of-tune analogue TV. In ver 17.04 it generates audio white noise as well as video snow.
Color Bars
This generator came in to Kdenlive around ver 17.04.
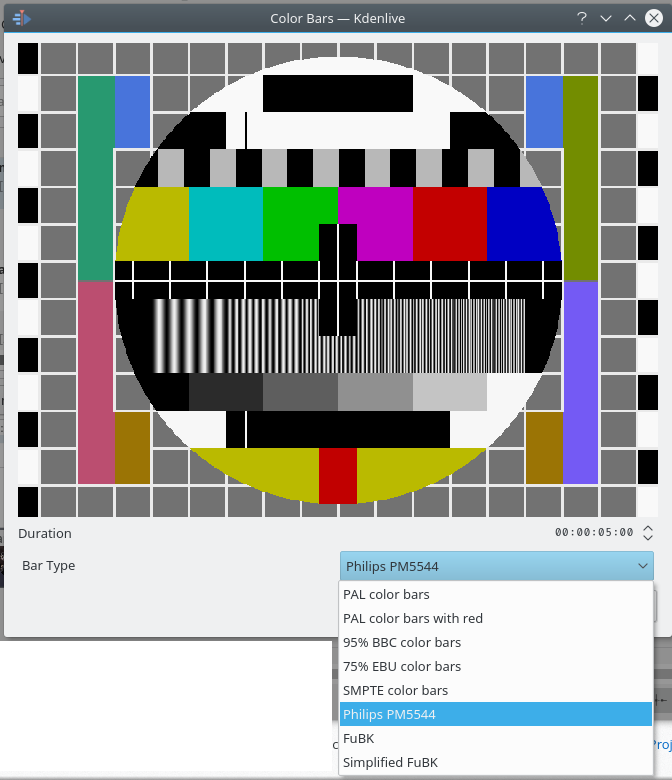
Generates a color test pattern of various types.
Including PAL color bars, BBC color bars, EBU color bars, SMPTE color bars, Philips PM5544, FuBK
