Marble/Bogmærker
- ← Korttemaer
- Marble/Bookmarks/da
- Søgning →
Introduktion
I denne vejledning lærer du, hvordan du kan lave og håndtere bogmærker i Marble. Bogmærker bruges til hurtigt at flytte til bestemte steder på et kort. Understøttelse af bogmærker blev introduceret i Marble 1.0, hvor de grundlæggende funktioner er med. Mere avanceret håndtering af bogmærker er planlagt til kommende udgaver.
Tilføj bogmærker
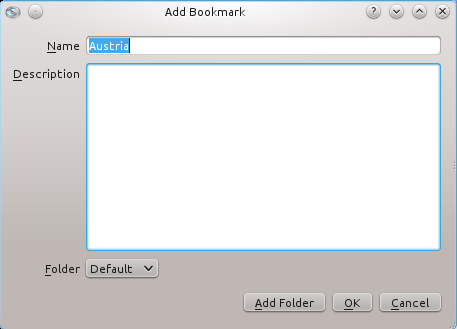
Bookmarks can be added in two different ways. Both show the same dialog window to change the name and description of the bookmark.
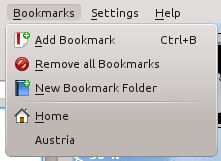
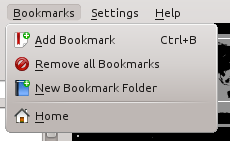
A useful default name for the bookmark name is automatically suggested when there is an Internet connection. Otherwise the plain geodetic coordinates of the center are used as the default name. After adding a place as bookmark, it's part of the menu in the menu bar.
You can move the map center to the bookmarked location by simply clicking on the menu entry.
Menu Bar
The current center position is used as the bookmark location in the dialog mentioned above when you click on .
Context Menu
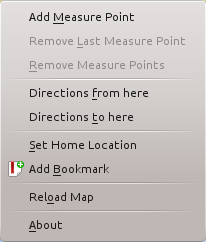
By clicking on the map with the right mouse button and choosing a position can be added to your favorites.
Organizing Bookmarks in Folders
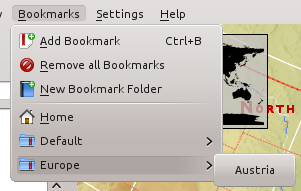
Folders can be created to organize the bookmarks. This can either be done by clicking on in the Add Bookmark dialog mentioned above or by using in the menu bar.
After that the folder appears in the combobox in the Add Bookmark dialog. Now bookmarks are organized in folders in the menu.
Removing Bookmarks
You can remove all bookmarks using the menu bar using . More versatile management features are planned for a future Marble release.
Bookmarks on the N900
The N900 version of Marble also supports bookmarks. Click on the point of the map you want to bookmark and select in the upcoming menu. The interface to add and choose bookmarks is very similar to that of the desktop version.
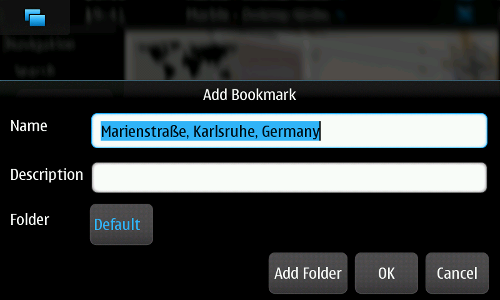
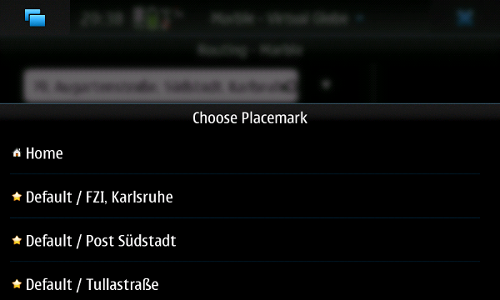
Accessing bookmarks is done differently to the Desktop version. Instead of using the application menu, click anywhere on the map and select in the upcoming menu. Among other placemarks, all your bookmarks are listed in a dialog. Choose the bookmark you want to jump to.
Using Bookmarks for Route Planning
Your bookmarks are also available for planning routes. Instead of typing in the route target, press the button next to the input field (Desktop: left side of the input field, N900: right side of the input field) and choose the bookmark to use.
- ← Map Themes
- Marble/Bookmarks/da
- Search →

