digiKam/Виконання нечіткого пошуку за допомогою digiKam
Виконання нечіткого пошуку за допомогою digiKam
Створено на основі допису у блозі Мохамеда Маліка (Mohamed Malik), 17 березня 2011 року
Одним з корисних інструментів digiKam є інструмент нечіткого пошуку. Користувач може вказати програмі ескіз або кольори, які мають міститися на зображенні. Для виконання нечіткого пошуку вам слід створити базу даних цифрових відбитків зображень з вашої збірки.
To do this go to and it gives you two options.
- Scan
- choose this option then digiKam will scan your database for missing fingerprint.
- Rebuild All
- choose this option then digiKam will rebuild all the finger prints in your database.
After installing digiKam 2 beta 3 from source a few weeks back I created a new database for use with the developmental branch, in my Dual Core 3.2 GHZ ( FSB 800) & 2BG DDR3 RAM, took around one and half hours. Therefore please remember that this operation of can take sometime depending upon your system.
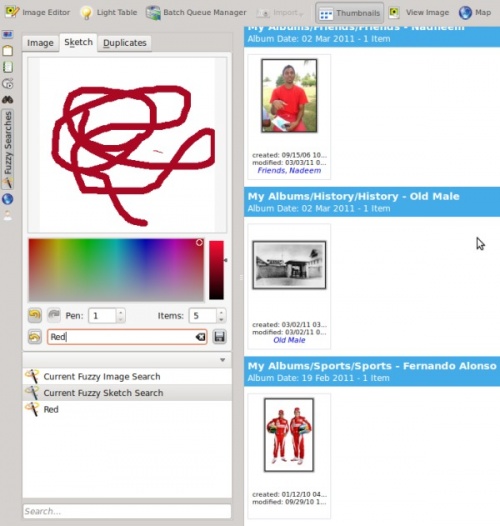
However the option is quicker as it only searches for missing finger prints. If you have already scanned your images for finger prints then you should skip this step. On the left hand side of digiKam, look for the tool with and select that tool. Navigate to the tab . Choose a color that your image might contain, you can change the size of the pen which is on the scale of 1-10, and you can also choose the number of images that you want to be displayed during your fuzzy search, this can be set to a value between 1-50 items. As you sketch on the area you will see that the fuzzy search related images appears on the right hand side. After performing searches you might want to save the search results, in that case give it a name and press the button. See screen capture below.

