Kopete/Jabber/Aggiungere amici
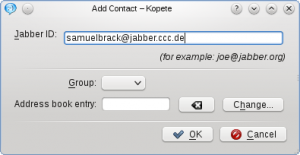
Al primo accesso la finestra di Kopete è piuttosto vuota. Potrebbe esserci un contatto predefinito aggiunto dal tuo server che forse ti invia un messaggio di benvenuto, ma non c'è alcun contatto reale nel tuo roster (questa parola identifica l' "elenco dei contatti" nel mondo Jabber). Il primo passo per aggiungere amici in Jabber è, naturalmente, chiedere loro l'ID Jabber. Quando ne hai uno puoi immediatamente aggiungerlo a Kopete. Puoi fare clic su o . Compare una nuova finestra che ti chiede l' che vuoi aggiungere al tuo roster. Semplicemente digitalo e fai clic su . L'opzione viene utilizzata quando hai specificato dei gruppi di contatti (esempio "famiglia" e "lavoro"). È possibile definire una connessione con KAddressBook tramite , in questo modo puoi scambiare informazioni come le immagini del profilo tra le due applicazioni.

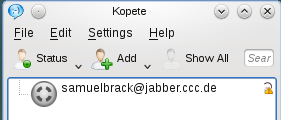
Now you've added your first friend to your roster. But before you can start writing messages to him or her, your contact has to authorize your request. Until this happens, the contact appears with a small yellow exclamation mark on the right side of his contact field.

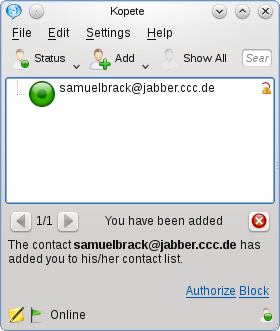
When your friend authorized your request or added you to his or her roster, its icon will appear colored when online. The exact meanings of the different icons (Online, Away etc.) can be seen at where you can set them yourself, too. You receive a notification when you are authorized.
Normally, your friend will put you also to his or her contact list, so you have to authorize this request by yourself, too. Kopete notifies about that at the bottom with a green flag and the description of the request. Click on to accept. The notification area can be closed by clicking on the cross on the upper-right side of the area.

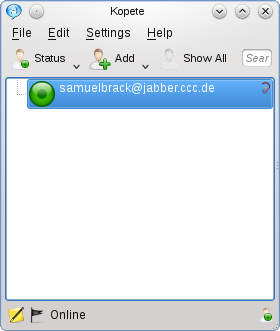
After that procedure you should see a contact list like in the next image.

You successfully added your first contact to your roster now.
- ← Return to index
- Kopete/Jabber/Adding friends/it
- Page 6 - Messaging and sending files →
