Kubuntu/Kurulum
Kurulum
There are many good reasons to install Kubuntu! Some of them include:
- Kubuntu makes your PC friendly.
- Kubuntu is an operating system built by a friendly worldwide team of expert developers. It contains all the applications you need: a web browser, an office suite, media apps, an instant messaging client, and many others. For a list of the included software, see the Software page.
- Kubuntu is a free, open-source alternative to Windows and Mac OS X.
- Easily install beside, or instead of, Windows.
Install Process
First, you will need to download Kubuntu. See Get Kubuntu
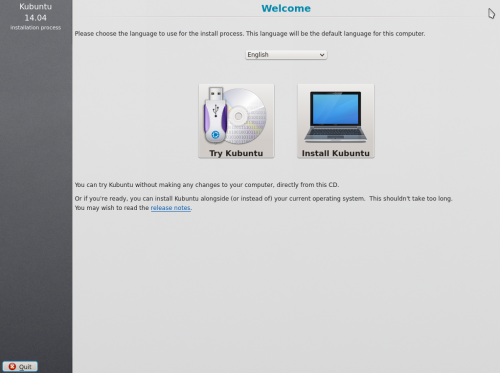
When the installer starts you will see these options:
- Try out Kubuntu without changing anything on your computer
- Install Kubuntu on your computer.
Prepare
For the best result, ensure that:
- Your computer has enough room for Kubuntu and your data - your songs, pictures, videos, and documents.
- Your computer is connected to the Internet so that you can download updates and third-party software as Kubuntu is installing.
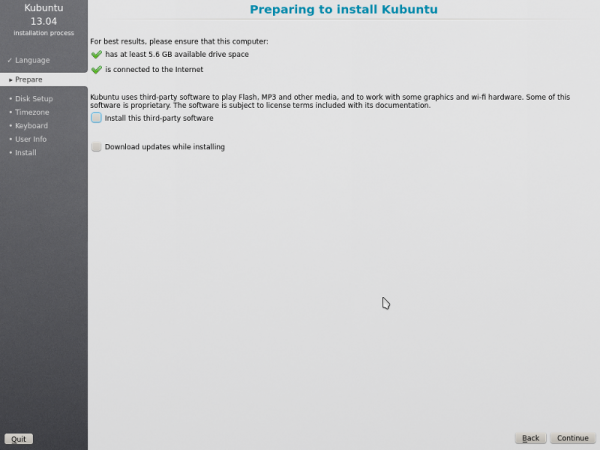
includes software that either does not follow the Open Source model or the Ubuntu Philosophy, but is safe for use on your system.
will ensure that you have the latest bug and security fixes included and applied once the installation is complete.
Disk Setup
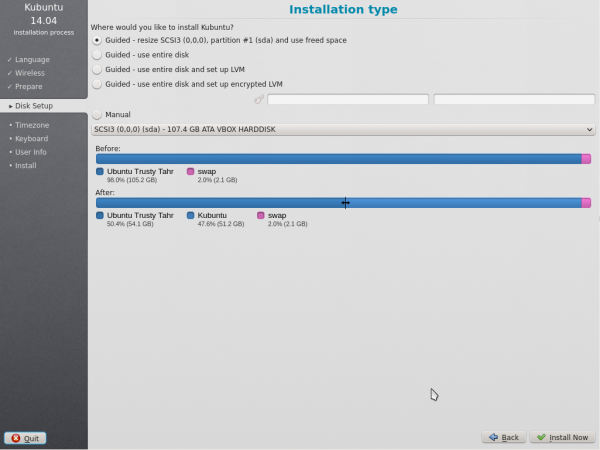
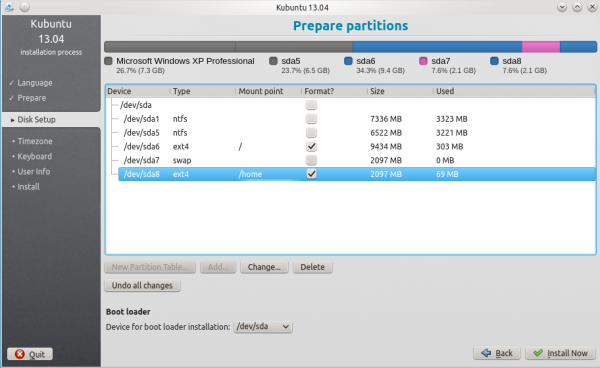
This is where you choose how to organize your hard drive. This step is the most complicated and consequential in the entire install process, so take your time.

The following sections are some possible installation scenarios you might choose. Each of these choices points to a page or series of pages with more details. For each option (except Manual), the installer asks which hard drive to use. After choosing, you will see a before and after layout on that hard drive.
Resize
This will resize the partitions for you and install Kubuntu on the free space. With this option you can create what is called a dual-boot and choose which OS to boot into at startup.
Use entire disk
In this scenario the installer will create two(2) partitions on your hard drive. One(1) for the root, home, and everything else and one(1) for the swap.

Use entire disk and set up LVM
More about LVM
Use entire disk and set up encrypted LVM
More about encrypted file systems
Manual
When using to set up your system as you would like it, keep these thoughts in mind:
- The root ( / ) directory needs at least 25 GBs of space.
- The home ( /home ) directory needs as much space as you will need for your files, music, pictures and documents. So it is best to use the remaining space for the home partition, unless you have going to dual boot.
- Swap space of at least half of the available RAM is recommended. For instance, with 8 GBs, make the swap with at least 4 GBs.
For more detailed information regarding the Disk Setup of a linux system you can check the DiskSpace page.
Timezone
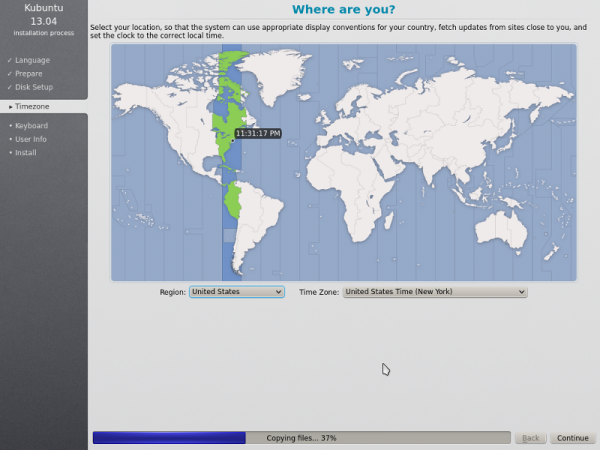
During this step you get to pick the Region where you live and then the Timezone of the location in that Region. An example would be that I live in New York, so my Region is North America and my Timezone is New York.
Keyboard
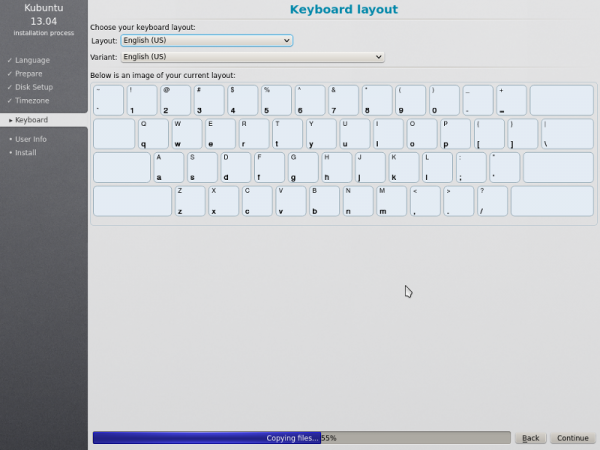
This is the step that will set up your keyboard's language and, if the language has it, a different version of the language. For example, there is a Cherokee American English setting as well as different setups with special keys used in certain countries; in Kubuntu we try to make the system easy for everyone!
User Info
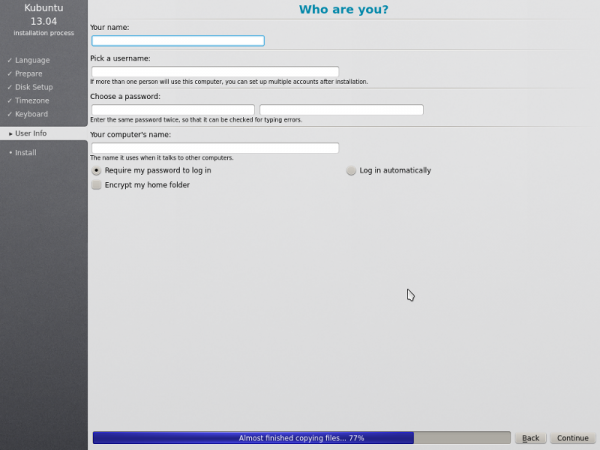
At this step of the installation you will be putting in user information like your name, username, and password. The password will be your key to logging into your new installation as well as installing new software, updating your system, and more, so keep it written down somewhere!
