Kopete/Jabber/Додавання друзів
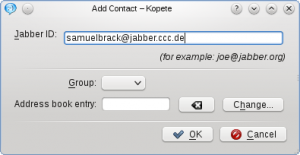
Після першого вашого входу до системи вікно Kopete буде майже порожнім. Ймовірно, у ньому буде лише типовий запис контакту, доданий вашим сервером, який, можливо, надіслав вам вітальне повідомлення, але у ньому не буде списку співрозмовників, з якими можна було б поспілкуватися. На першому кроці додавання записів ваших друзів слід вказати їхні ідентифікатори Jabber. Якщо вам відомий такий ідентифікатор, ви можете негайно додати його до списку Kopete. Скористайтеся для цього пунктом або . У відповідь програма відкриє вікно, у якому ви зможете вказати , який ви бажаєте додати до вашого списку. Введіть цей ідентифікатор і натисніть кнопку . Якщо ви визначаєте групу записів контактів (наприклад, «родина» чи «робота») слід скористатися пунктом . Зв’язок запису з адресною книгою можна створити за допомогою пункту . Після визначення зв’язку ви зможете використовувати дані профілю користувача, зокрема знімок користувача, у багатьох програмах.

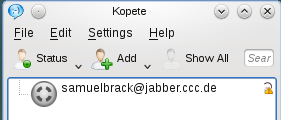
Now you've added your first friend to your roster. But before you can start writing messages to him or her, your contact has to authorize your request. Until this happens, the contact appears with a small yellow exclamation mark on the right side of his contact field.

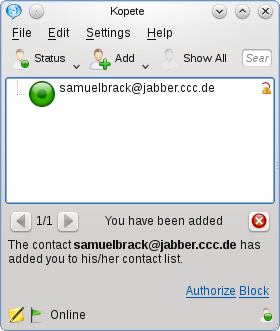
When your friend authorized your request or added you to his or her roster, its icon will appear colored when online. The exact meanings of the different icons (Online, Away etc.) can be seen at where you can set them yourself, too. You receive a notification when you are authorized.
Normally, your friend will put you also to his or her contact list, so you have to authorize this request by yourself, too. Kopete notifies about that at the bottom with a green flag and the description of the request. Click on to accept. The notification area can be closed by clicking on the cross on the upper-right side of the area.

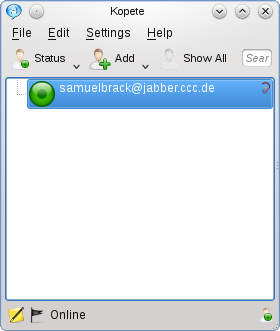
After that procedure you should see a contact list like in the next image.

You successfully added your first contact to your roster now.
- ← Return to index
- Kopete/Jabber/Adding friends/uk
- Page 6 - Messaging and sending files →
