Digikam/Lens Correction Using digiKam
Lens Corrections Using digiKam
Transcribed from Mohammed Malik's blog, 18 March 2011
No lens is optically perfect. Even the most expensive lenses have there own imperfections, however digiKam can correct lens imperfections such as distortion, chromatic aberration, vignetting, color & geometry.
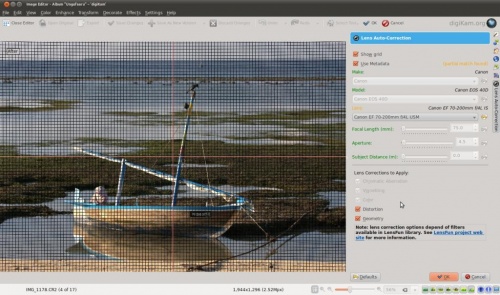
Choose the picture that you want to add corrections to and press F4 on the keyboard. This will take you to view. In the view go to .

This feature uses lens data from the lensfun library and it has a very much up to date database of lenses which are available. It has more than a hundred lenses in its current databases. It also uses the metadata from the image to find-out which lens is used. If the exact used to take the picture is available it will mention that it matches with the meta-data, however if the exact match is not available it will choose the settings from the most closes match. In this case it also allows users to select the lens themselves.
You can either enable or disable the grid lines. Select the corrections you want to apply move you mouse inwards and outwards of the preview window which will show you before and after. When you are satisfied with the result press .
