Kdenlive/Manual/Monitors/Clip Monitor RightClick
Clip Monitor - Right Click Menu
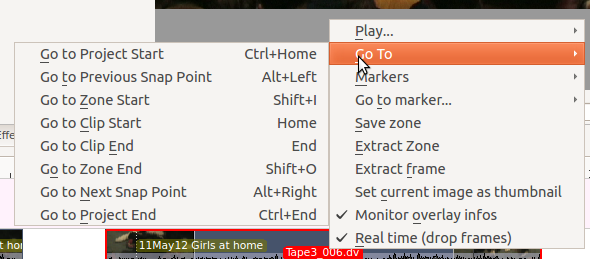
Play ...
Play
Play Zone
Loop Zone
Go To
Go to Project Start
Go to Previous Snap Point
Go to Zone Start
Go to Clip Start
Go to Clip End
Go to Zone End
Go to Next Snap Point
Go to Project End
Markers
Add Marker
Adds a new marker into the clip at the current time point.
Edit Marker
Brings up a dialog where you can edit the marker that is at the current time point. Use Go to marker to put the monitor at the marker you want to edit.
Delete Marker
Deletes the marker that is a the current timepoint. Use Go to marker to put the monitor at the marker you want to edit.
Delete All Markers
Deletes all the markers from the current clip.
Go to marker...
Same a Go to Marker below.
Go to marker...
The menu item pops out a list of existing markers to select from. When one is selected the Clip monitor moves to that marker.
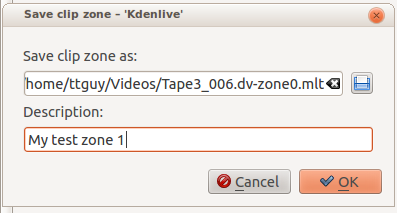
Save zone
This brings up the Save Zone dialog
Extract Zone
Extract frame
Extracts the frame currently in the clip monitor as a .PNG image which you can save to the file system.
Set current image as thumbnail
Monitor overlay infos
???
Real time (drop frames)
Setting this to the Checked state means the clip monitor will drop frames durring playback to ensure the clip plays in real time. This does not effect the final rendered file - it just effect how the clip appears when being previewed in the clip monitor


