Digikam/Adding Borders To Your Photos
Many people add borders to their images, since they make the image look better and stand out unique. digiKam makes this very easy and simple!
There are two ways to apply image borders in digiKam
Method 1 (Single photo)
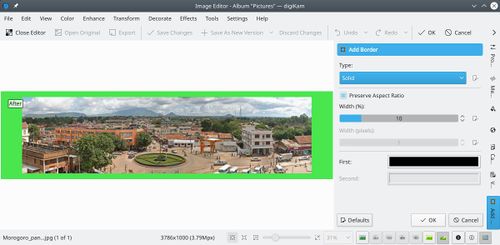
Select the photo that you want to apply a border to and click F4 on the keyboard. This will take you to the editor view. From there select .
You will be presented with many options.
One option is the color. This option let you choose the color, that you want with KColorChooser.

When you are done press .
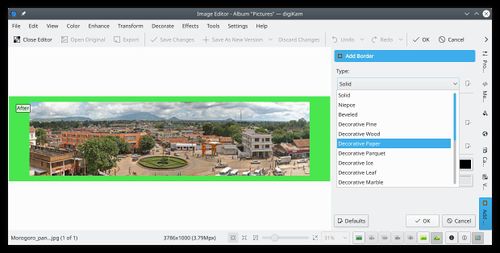
If you prefer predefined textures to apply as borders you can select from the available options menu, which gives many choices.

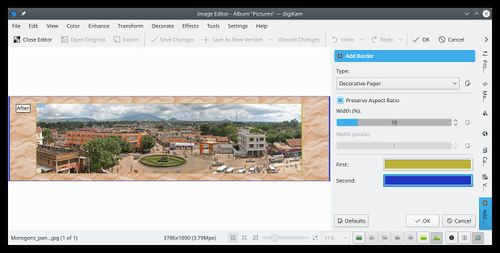
If you choose this option then you can choose the first color and second color. First color is the color that you will see in the inner area, where as second color is the color you will see on the outer area. See screen capture:

When you are done press .
Method 2 (Batch update)
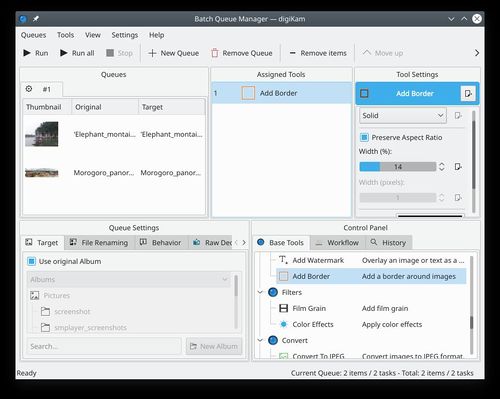
Method 1 is very useful when to test the feature and try to get a border that really suits your needs. However if you have many images that you want to apply borders to, then the batch queue manager would be the best option. Select all the images that you want to apply borders and click Ctrl + B on the keyboard and the Batch Queue Manager appears.
Drag and Drop the tool to the list of assigned tools and set your preferences select a target folder then click (Ctrl + P).
See screen capture below:


