Neon/Installation/OEM
OEM installation mode is a special installation mode targetted at hardware manufacturers. The principal difference to a regular installation is that the installation itself creates a temporary user for customization from where the system is switched into firstboot mode. Booting in firstboot mode will let the final user configure the system to her preference and create her actual account.
This enables hardware manufacturers to install and prepare a system for their customers while still letting the customers pick their own user name, keyboard layout and the like.
How To
Put the ISO on a USB stick and boot the device using the stick.
Depending on the operation mode of device the ISO will be either booting in BIOS mode or UEFI mode. The two look slightly different, but both offer an option to start in OEM mode.
UEFI
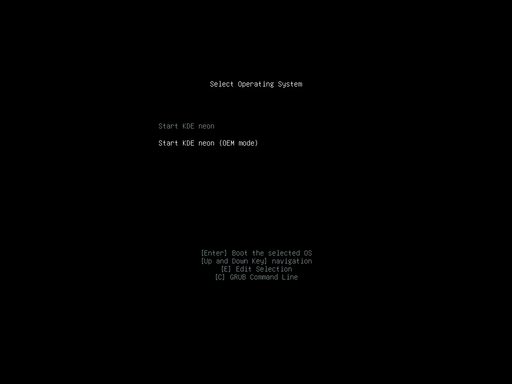
In UEFI mode you will be greeted by GRUB where you simply have to start the OEM entry rather than the standard one.
BIOS
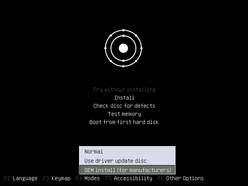
In BIOS mode you will be greeted by a splash screen. You want to hit Esc to get to the menu. In the menu you can use the F4 key to switch the installer into OEM mode. Once selected simply hit Enter to start.
Installation
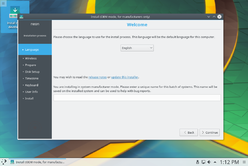
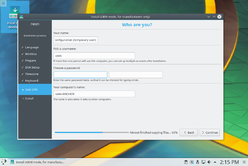
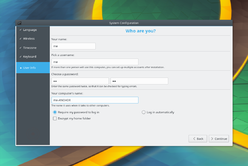
The installation process itself is the same as it would be for a non-OEM installation. The major difference is that the installer window title will say that the installer is in OEM mode and the user setup will have the fixed username oem.
System Preparation
Booting into this system will bring you to the system preparation stage. You will be logged into the temporary oem user and can modify the system as necessary. In this stage you could install additional software, language packs, media codecs, drivers and so forth.
The system you are working on is going to be the system the user will use, so take care not to leak credentials in log or configuration files. Should you need to, make sure to delete them before you move on.
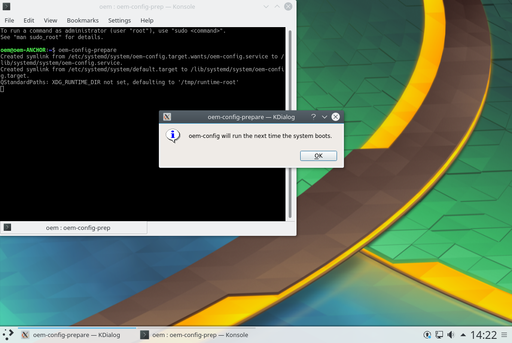
Once you are done preparing the system you can prepare it for delivery. Simply open a terminal and run
oem-config-prepare
The system is now in firstboot mode. At this stage you could create a disk image of the final system and supply it to your manufacturer to put on all hard drives, or simply do so yourself. The next time the system is booted it will come up in firstboot mode for the customer.
First Boot
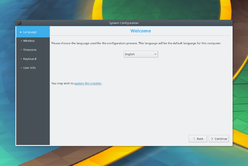
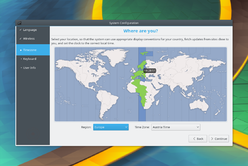
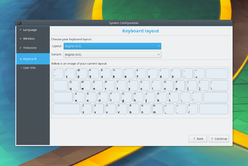
During the first boot a simplified installer interface is used to configure the final system. As part of this, the previously used oem user will be removed.
Finale
Once the configuration is done the user is automatically soft-rebooted into his final system. Ready for rock'n'roll.


