Plasma/TweakingPlasma/zh-tw: Difference between revisions
m Created page with "*右擊桌面 *按下<menuchoice>新增面板</menuchoice> *按下面板上的<menuchoice>腰果</menuchoice> *按住<menuchoice>螢幕邊緣</menuchoice>拖拽面板到螢幕的..." |
m Created page with "===加入元件===" |
||
| Line 14: | Line 14: | ||
=== | ===加入元件=== | ||
* Still in the panel click <menuchoice>Add widgets</menuchoice> | * Still in the panel click <menuchoice>Add widgets</menuchoice> | ||
Revision as of 07:36, 23 January 2011
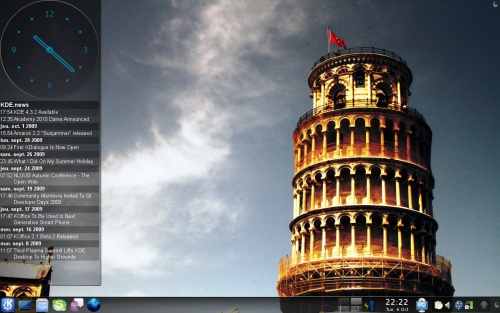
類似 Windows Vista 帶時鐘和新聞的邊欄
再次證明 Windows 能做的,KDE 軟體一樣可以……
建立面板
- 右擊桌面
- 按下
- 按下面板上的
- 按住拖拽面板到螢幕的一側
- 設定想要的高度和寬度。但要使得面板夠寬,以顯示放置的元件
加入元件
- Still in the panel click
- Add the widget and the or widget
Hide the panel
- Click on
- Click on the option
You're done!
Result
Using Multiple Plasma Themes
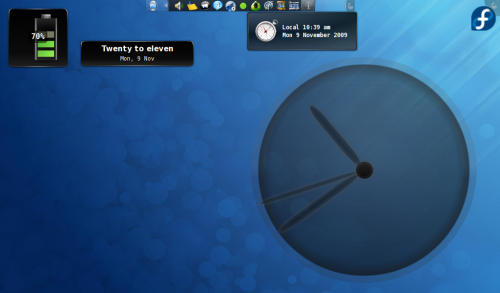
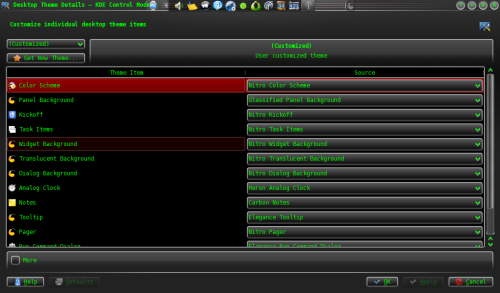
The Plasma workspace allows users to create customized themes whose widgets can be themed using multiple themes. For example, it is possible to have the Taskbar be themed using Oxygen, to have the clock be themed using Aya, and much more customization, allowing you to pick the best plasma themes for each object.
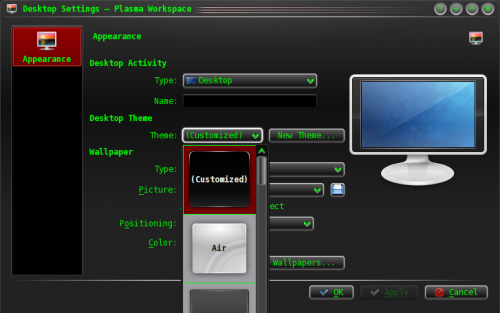
Set up "(Customized)" Theme
Navigate to the configuration dialog via either Krunner or the System Settings Dialog:
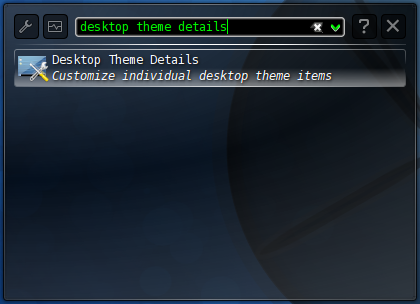
Here you can choose what theme is used for different objects in the Plasma workspace. Configure them to your pleasure (it often helps to test each individual plasma element by applying the entire theme to your desktop first) and press .
Apply "(Customized)" Theme
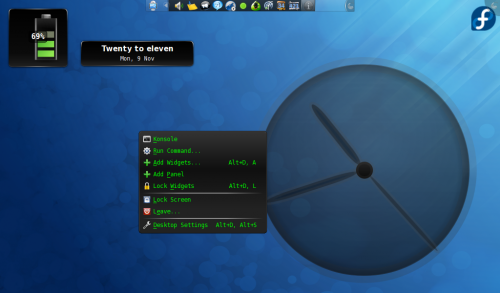
At this point, the workspace settings dialog should list a Plasma theme entitled (Customized). This is the theme mashup that you have created. Select it and hit .
