Kopete/Jabber/Визначення даних облікового запису у Kopete
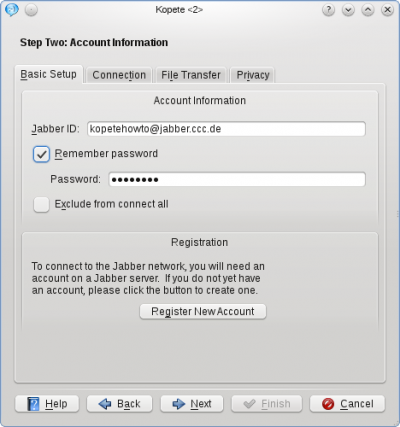
You now own an account on a Jabber server and Kopete asks you for Step two: Account information. Kopete adds your Jabber ID and your password into the required fields automatically. If you want Kopete to remember your password in order to not type it in every time you connect with your server, check .
If you want to use your existing accounts of Google Talk or Facebook chat in Kopete (these are actually Jabber servers, too), use your GMail address or your facebook account data (explained here) to connect to these servers.
Optionally you can check . This advises Kopete not to go online when you go online with all of your Kopete accounts (as Kopete is a multimessenger with support for many other protocols like ICQ or MSN). When you checked this, you will later have to go online explicitly for this one account every time you want to connect with your server.
Your Kopete should now look like this:

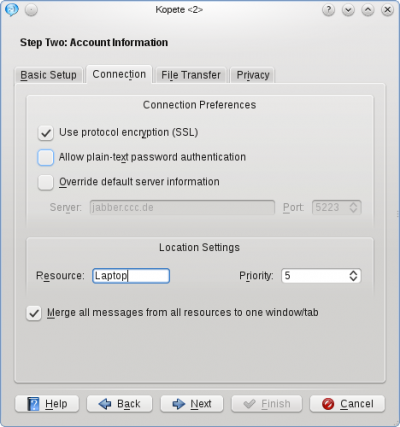
Click on the Tab to check additional options. Especially selecting and the unselection of should be chosen for basic security reasons.
The should be okay, if you are in a normal home network without special firewall configuration.
The section Location Settings is another specialty of Jabber: You can set so-called "Resources" to identify where you chat from. For example if you log in to Jabber from your mobile phone and your notebook at the same time (yes, you can do that) the resource explains your contacts where you are. So you could call it "Notebook" or "Android", depending on which device you're installing Kopete. Remember that your resources can be seen from your chat partners (they will be added to the JID like this: romeo@montague.net/Notebook), so you might consider privacy issues while choosing your resource name.
In our example, the will be set to Laptop. The priority is mainly useful when you handle multiple devices and tells your partner's client which of your devices being online at the moment (e.g. your mobile phone or your laptop) to contact in this case. The highest priority number of your resources being online receives the message.

The next Tab, , is normally not affected when setting up a Jabber account in a normal network.
Finally, there are some privacy configurations in the tab , they are mostly self-explanatory. The option (read here what PGP means) is not recommended, because there exists a method to do this with the built-in OTR, which will be explained later in this tutorial.
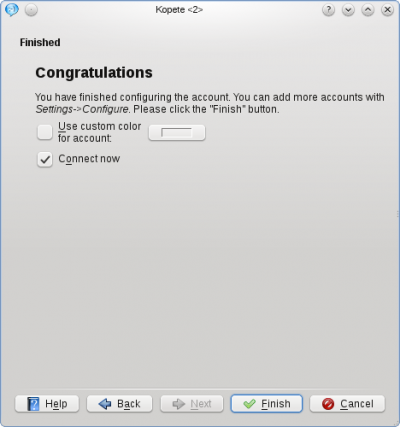
At this point you can click again and your account is configured now. You can choose an optional color for your account and when you feel ready to connect the very first time to your Jabber server, the checkbox has to be ticked.

Now you can finish the configuration.
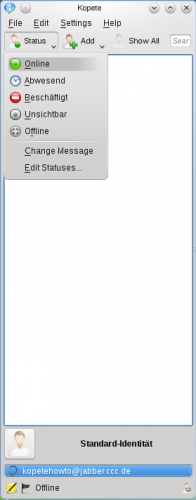
Otherwise you can manually connect to the server by clicking in the Kopete main window or by right-clicking the Kopete symbol in your tray and selecting . If you chose the option earlier, you will have to log in by right-clicking on the Kopete tray icon and selecting .

- ← Повернутися до змісту
- Kopete/Jabber/Fill in your account data in Kopete/uk
- Сторінка 5. Додавання записів друзів →
